Azure IoT - Getting Started with our Cyber Chicken Coup
2017-11-20
I figured since I fell into the parent trap of "Dad, we promise we'll take care of them - this time it's chickens edition" I might as well play around with some electronics to them take care of the them.

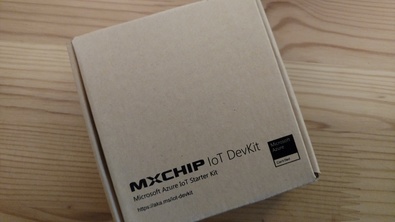
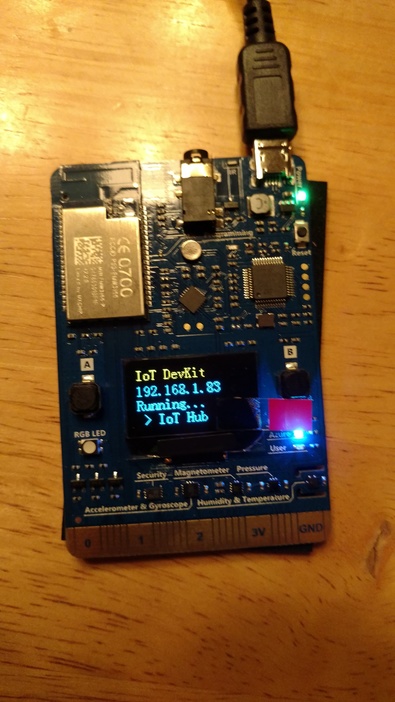
So I picked up a official Azure Internet of Things developer kit, frankly because the price seemed right for all the things packed into this little device. This is a compatible Arduino board that has a lot of hardware built in without the need for additional shields or components. This board comes with Wi-Fi, a microphone/headset socket, a pair of buttons, on board LED, IR emitter, motion sensor, magnetometer, barometric presssure, temperature and humidity sensors. It even has a 128x64 OLED display!
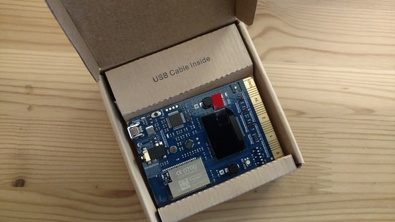
It is also tiny
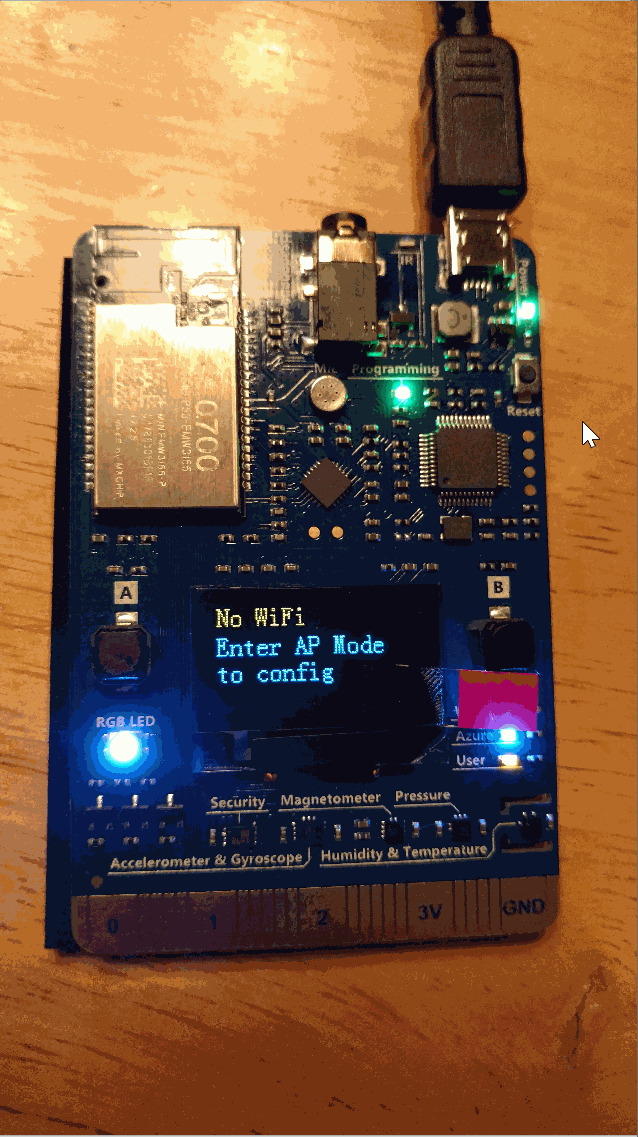
Fire it up
Like most, if not, all of these prototyping boards you get the convenience of USB power and you are ready to get started.
One of the first things you'll want to get connected is the Wi-Fi. To do this you put the board into access point mode and have your computer connect to a web server running on it.
You login to the portal and a quick hardware reboot later and you are on your network. Really easy so far.
Like most things that are 'shipped' there are cases when you don't have the latest and greatest. In this case the firmware is likely to be out of date. That's another quick bin download and a copy over to the board's storage - one more reboot and you're ready to go!
A quick roll through the sensors and it looks like we are 5 by 5 - all systems go.
Developer Tool Chain Setup
There are number of dependencies that you'll need to get your developer environment setup but the team has that covered with a boostrap installer kit.
- Node.js
- Yarn
- Azure CLI 2.0
- Visual Studio Code
- Visual Studio Code extension for Arduino
- Arduino IDE
- DevKit Board Package
- ST-Link Utility
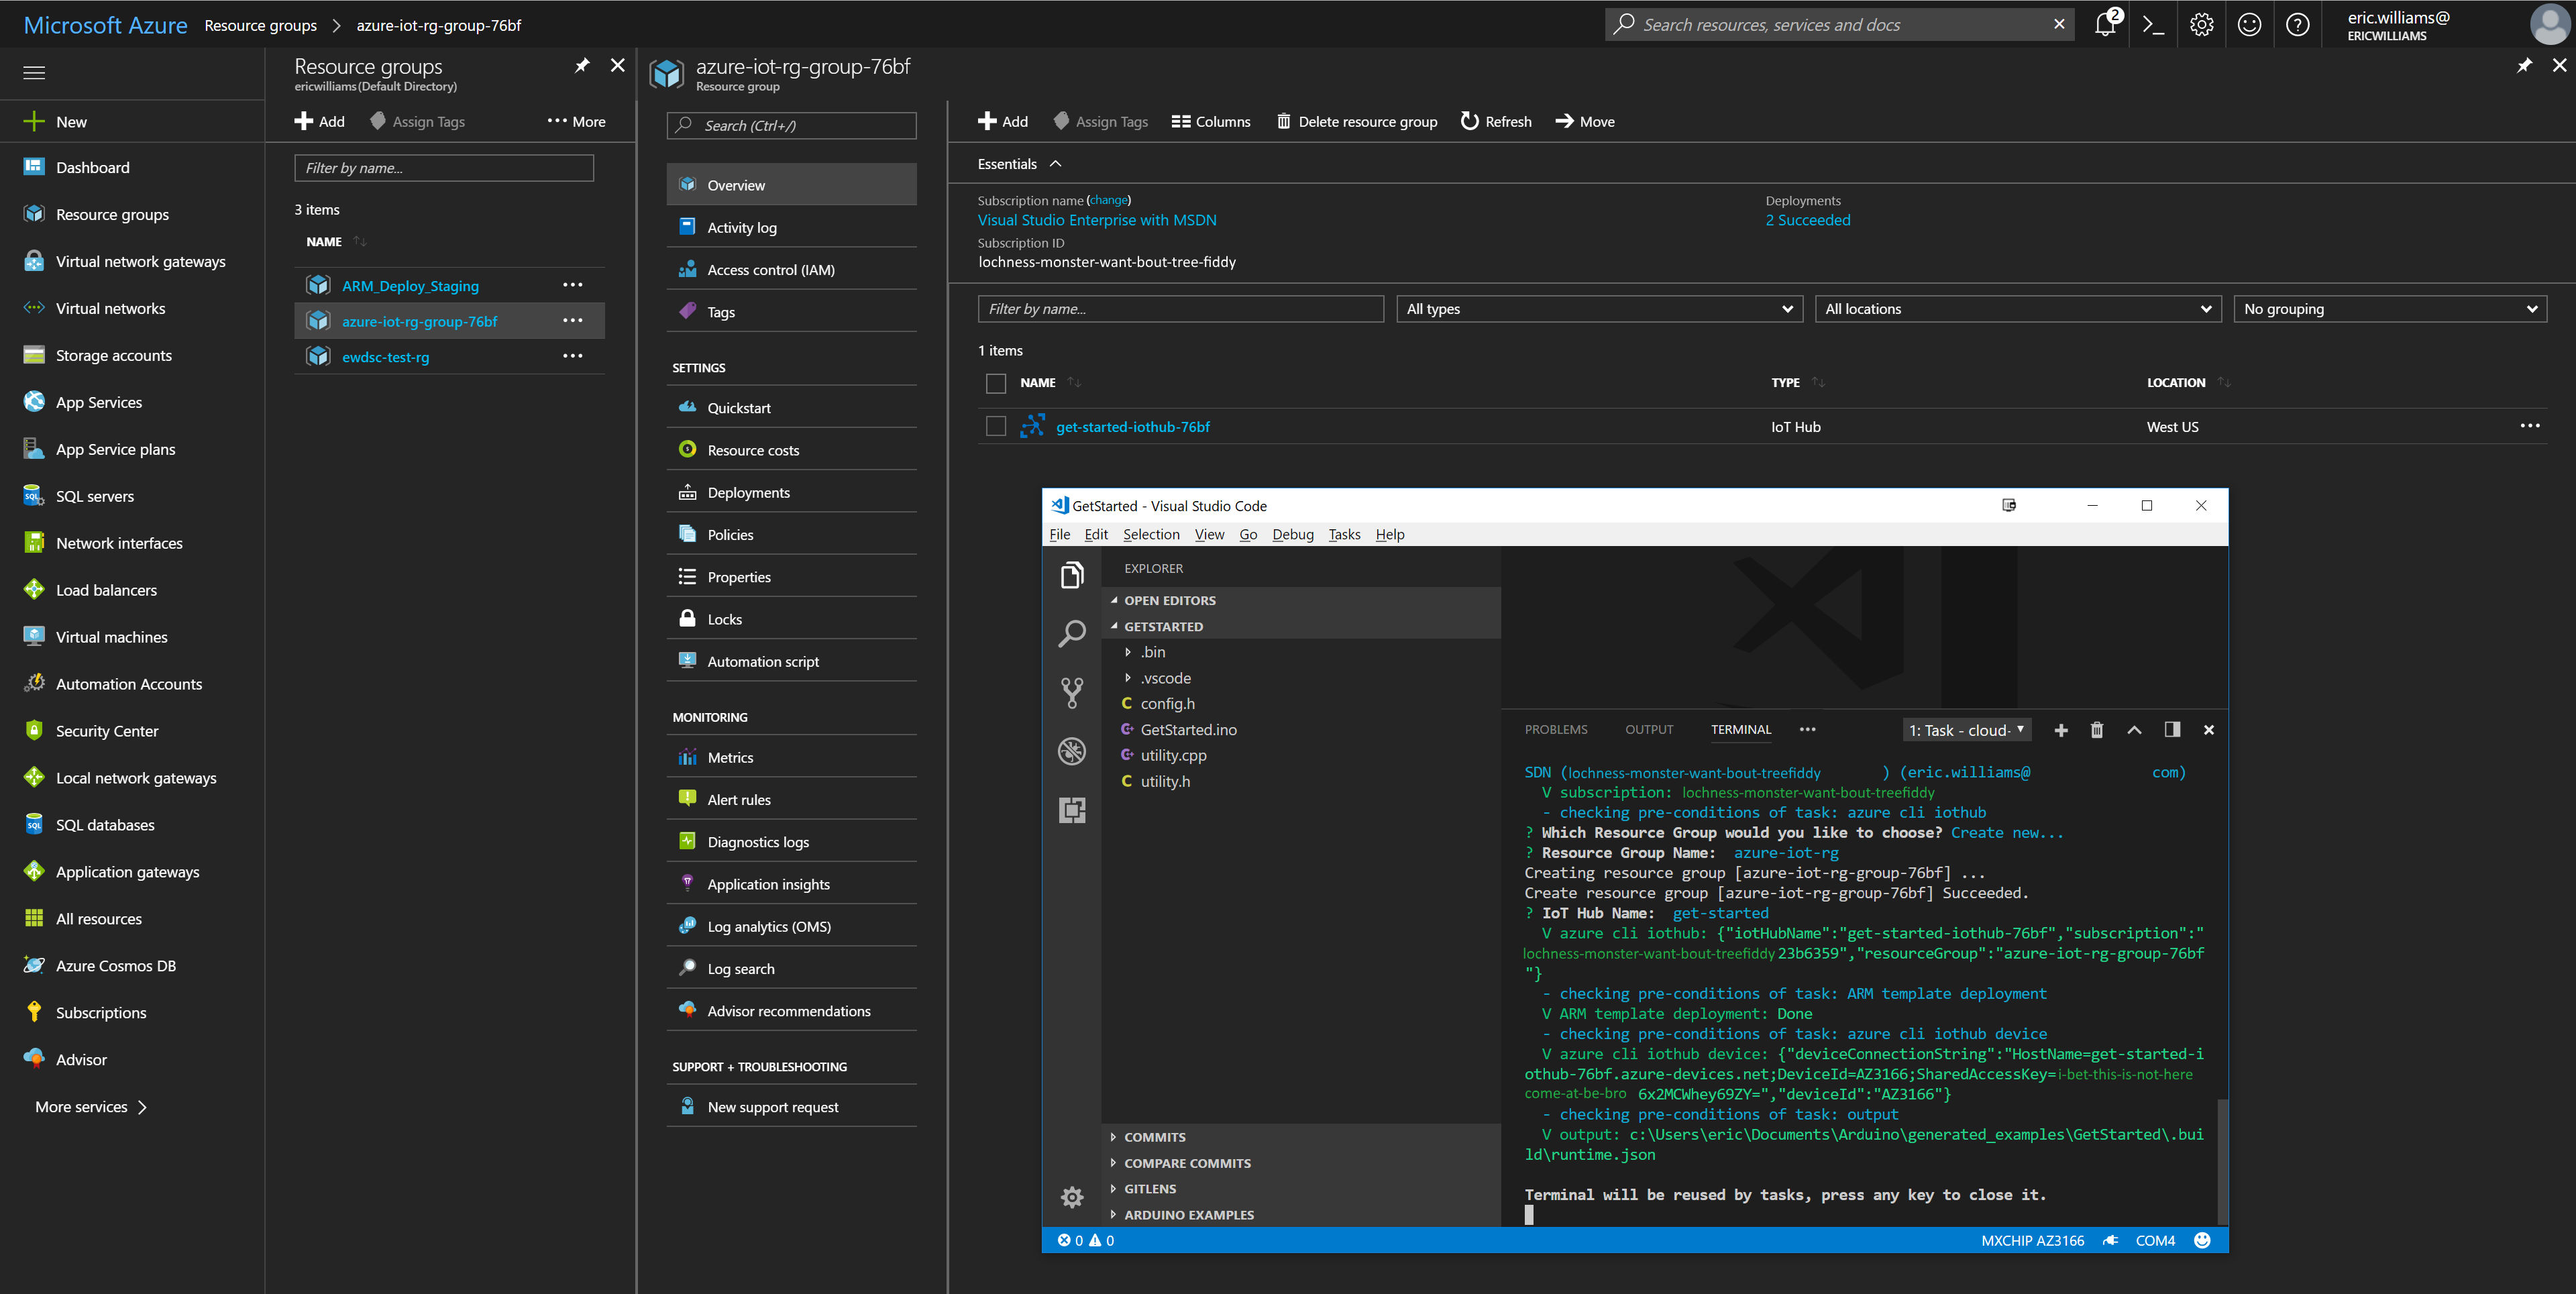
The Azure IoT Team has a handful of projects to get you started. I went with the Connect to Azure IoT Hub project after a lengthy and detailed analysis of it being first in the list.
I'm not going to walk you through the page but they are doing some really interesting things with the combination of the board and the the installed software along side VSCode. When you have VSCode running and you plug in your DevKit hardware is starts a introduction page with project selection options to help get you started.
You can select your project and with the excellent documentation you'll be running a sample application in no time.
Depending on the sample you choose you'll need to create some Azure resources to have your IoT DevKit interact with. Again all of this is build into the project 'system' in these samples. The Azure CLI does all the heavy lifting for you. After some credential prompting you will have built out a sandbox for your device to play in.
A build and a push (and blindly enable those firewall rules)

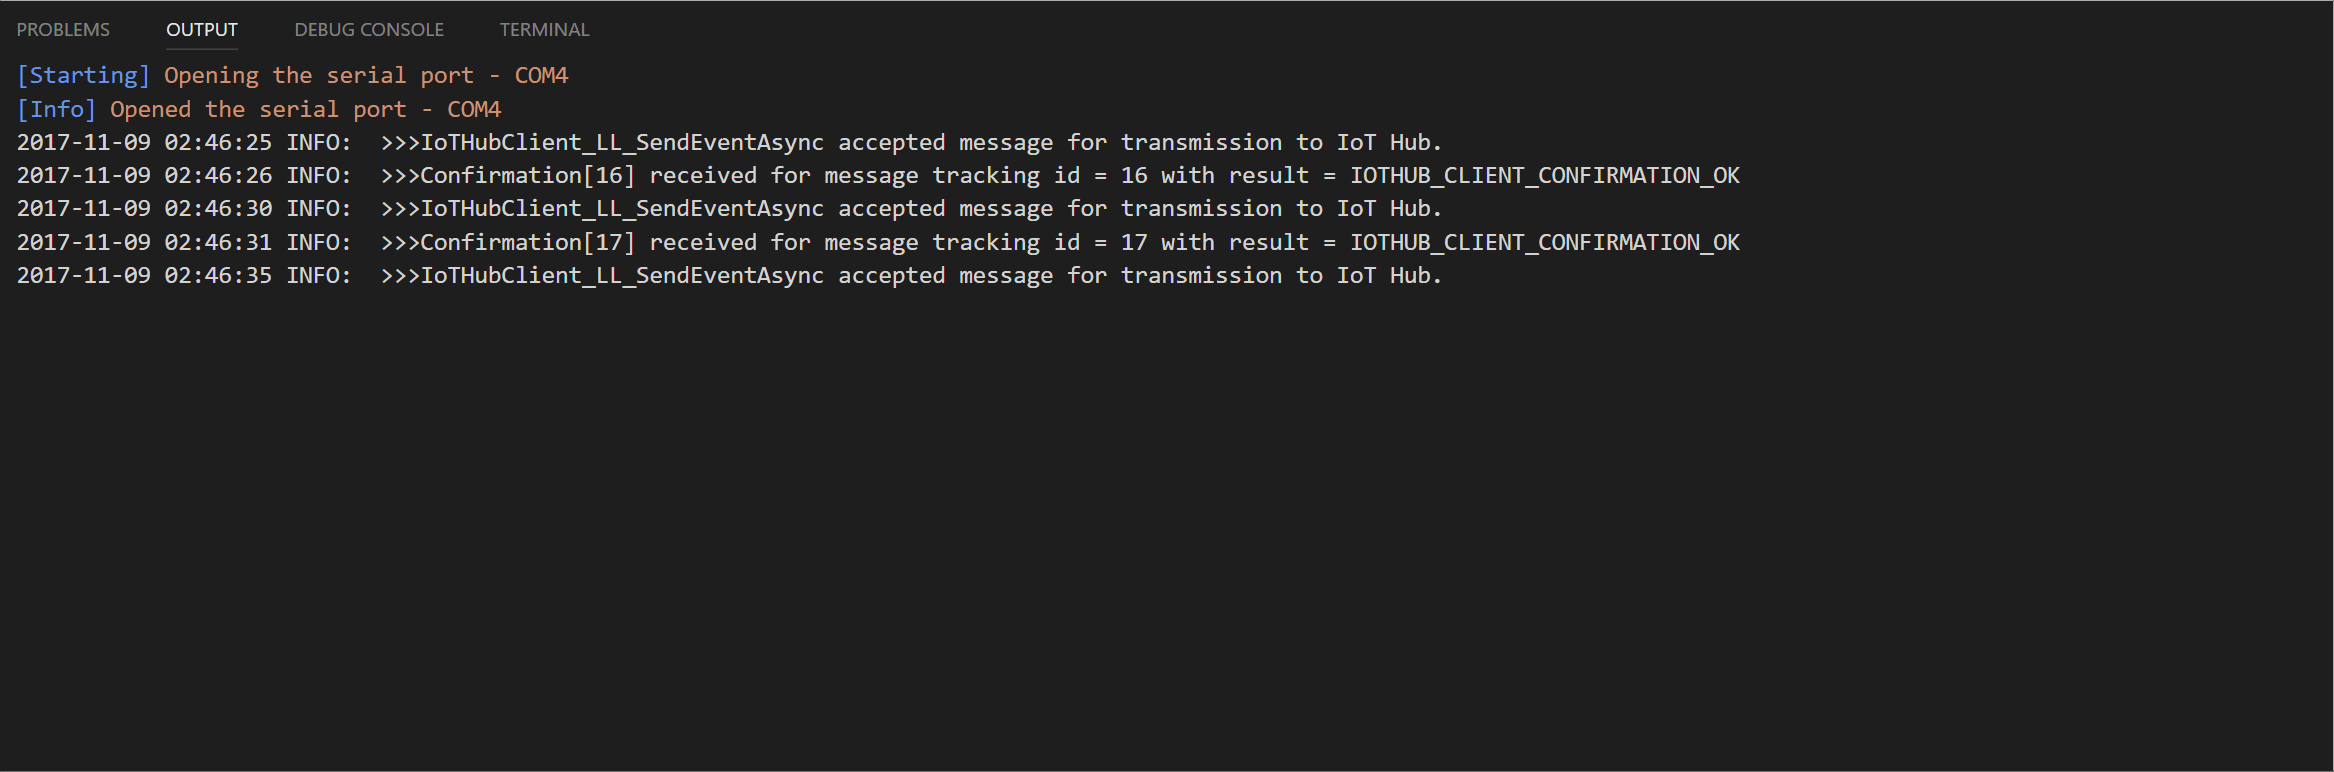
After a new minutes you should be able to see your device with a a running message on that little display
and then start to send messages messages to the Azure IoT Hub
IoT Hubs
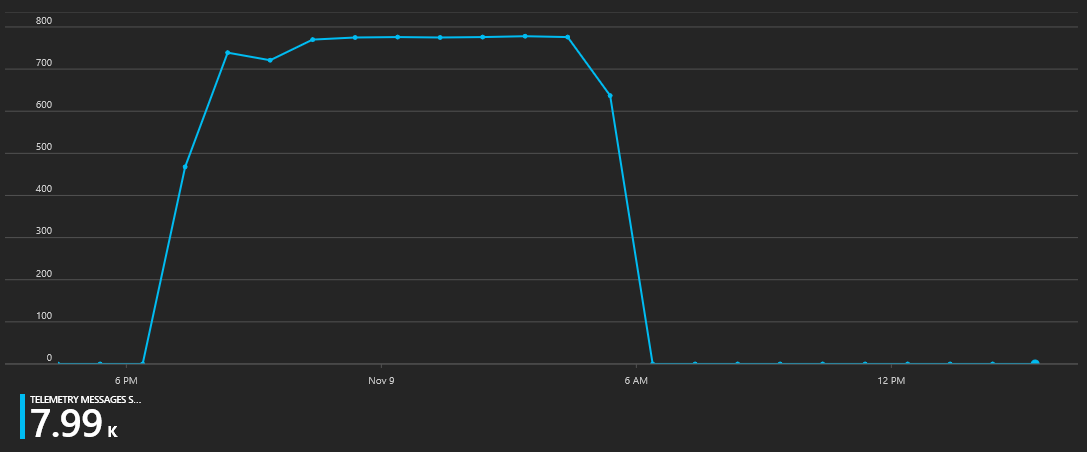
Seeing a device writing out temperature readings to the console is pretty neat. Those console output entries are actually messages being sent to the Azure IoT Hub that you had provisioned for your self earlier.
Be warned. With your free account tier of the IoT Hub in Azure you won't be able to leave your project running without it using up all the message quote of the plan. You can see in my usage chart where I ran out of messages in my 8,000 per 24 hour plan.
A quick change in the config.h file to update the interval from #define INTERVAL 2000 to #define INTERVAL 15000 and I can leave the device running 24x7
Here is where we are at this point
Not super interesting but onto the next component
Message Storage
Our message are not being saved anywhere, we're basically just sending all of our sensor data to /dev/null with no way to visualize it.
Endpoints
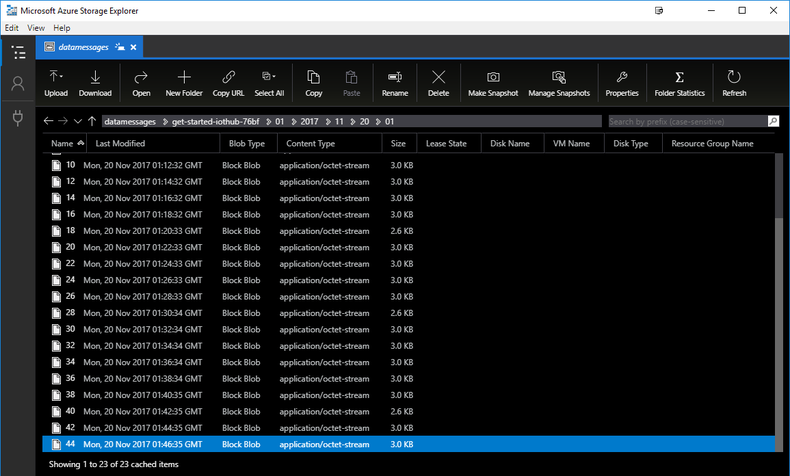
Step one from here is to get it persisted somewhere and for this we're going to initially use Azure Blob Storage. The mechanism for this is via an IoT Endpoints. The in Messaging section of the IoT blade you have the Endpoints item where you create a named Endpoint. You'll need to have a Storage Account with a container already created. The default Blob file name format will be {iothub}/{partition}/{YYYY}/{MM}/{DD}/{HH}/{mm} which creates a deep directory structure but will allows granular storage on disk that helps avoid collisions.
Each IoT hub exposes a set of endpoints your solution back end can use to communicate with your devices
Think of this as a custom message sink
Routes
Now that you have your landing area defined you need to establish a way to direct messages to the storage account via Routes. These routes can be configured to run on specific conditions so that you can send specific data to their respective areas.
Routing rules give you the flexibility to send messages where they need to go without the need for additional services to process messages or to write additional code
{
  "message": {
    "systemProperties": {
      "contentType": "application/json",
      "contentEncoding": "utf-8",
      "iothub-message-source": "deviceMessages",
      "iothub-enqueuedtime": "2017-05-08T18:55:31.8514657Z"
    },
    "appProperties": {
      "processingPath": "<optional>",
      "verbose": "<optional>",
      "severity": "<optional>",
      "testDevice": "<optional>"
    },
    "body": "{\"Weather\":{\"Temperature\":50}}"
  }
}
Now our diagram looks more like this

Visualizing the Data
Now we have our data persisted for later but we still don't have a good way to see it just yet. The persistense is optional but I wanted to enable it because storage is just do cheap and I don't know what I might want to do with the data. I can choose to delete it later if wanted.
Here you have about 42 different options that you can use. For now I just picked PowerBI to get a quick visualization with the added bonus of there is also a mobile application that can also view the reports.
Stream Analytics
I feel like a bit of a broken record here but there is just one more thing you have to do to enable this. Get a Stream Analytics job running on your data from your IoT hub.
The Steam Analytics job will take the message data-grams from your IoT hub and allow you to configure Inputs and Outputs to transform and ship the data to another service or location. You could think of it as a ETL job but that really isn't doing it much justice. You define a Input, have optional Functions that you can run on portions of that input, execute a Query that will transform and select data into various Outputs
In this case our Inputs are going to be the JSON ( Avro) data coming from the sensor. This is added via an additional Endpoint and Route in the IoT Hub.
A function is a simple javascript function to convert the Celsius data to Fahrenheit
function main(arg1) {
    return (arg1 * (9/5)) + 32;
}
A query to select, transform into a output source
SELECT
    *,
    UDF.ConvertToFahrenheit(temperature) AS temperature_fahrenheit
INTO
    [sensordataoutput]
FROM
    [sensordata]
And the finally a selected Output which in our case is PowerBI but could also be a SQL Database, Blob Storage, Event Hub, Table Storage, Service bus Queue, Service bus Topic, Cosmos DB, Data Lake Store and of course an Azure Function!
PowerBi
With your data now being published to a PowerBI dataset you can setup some visualizations.
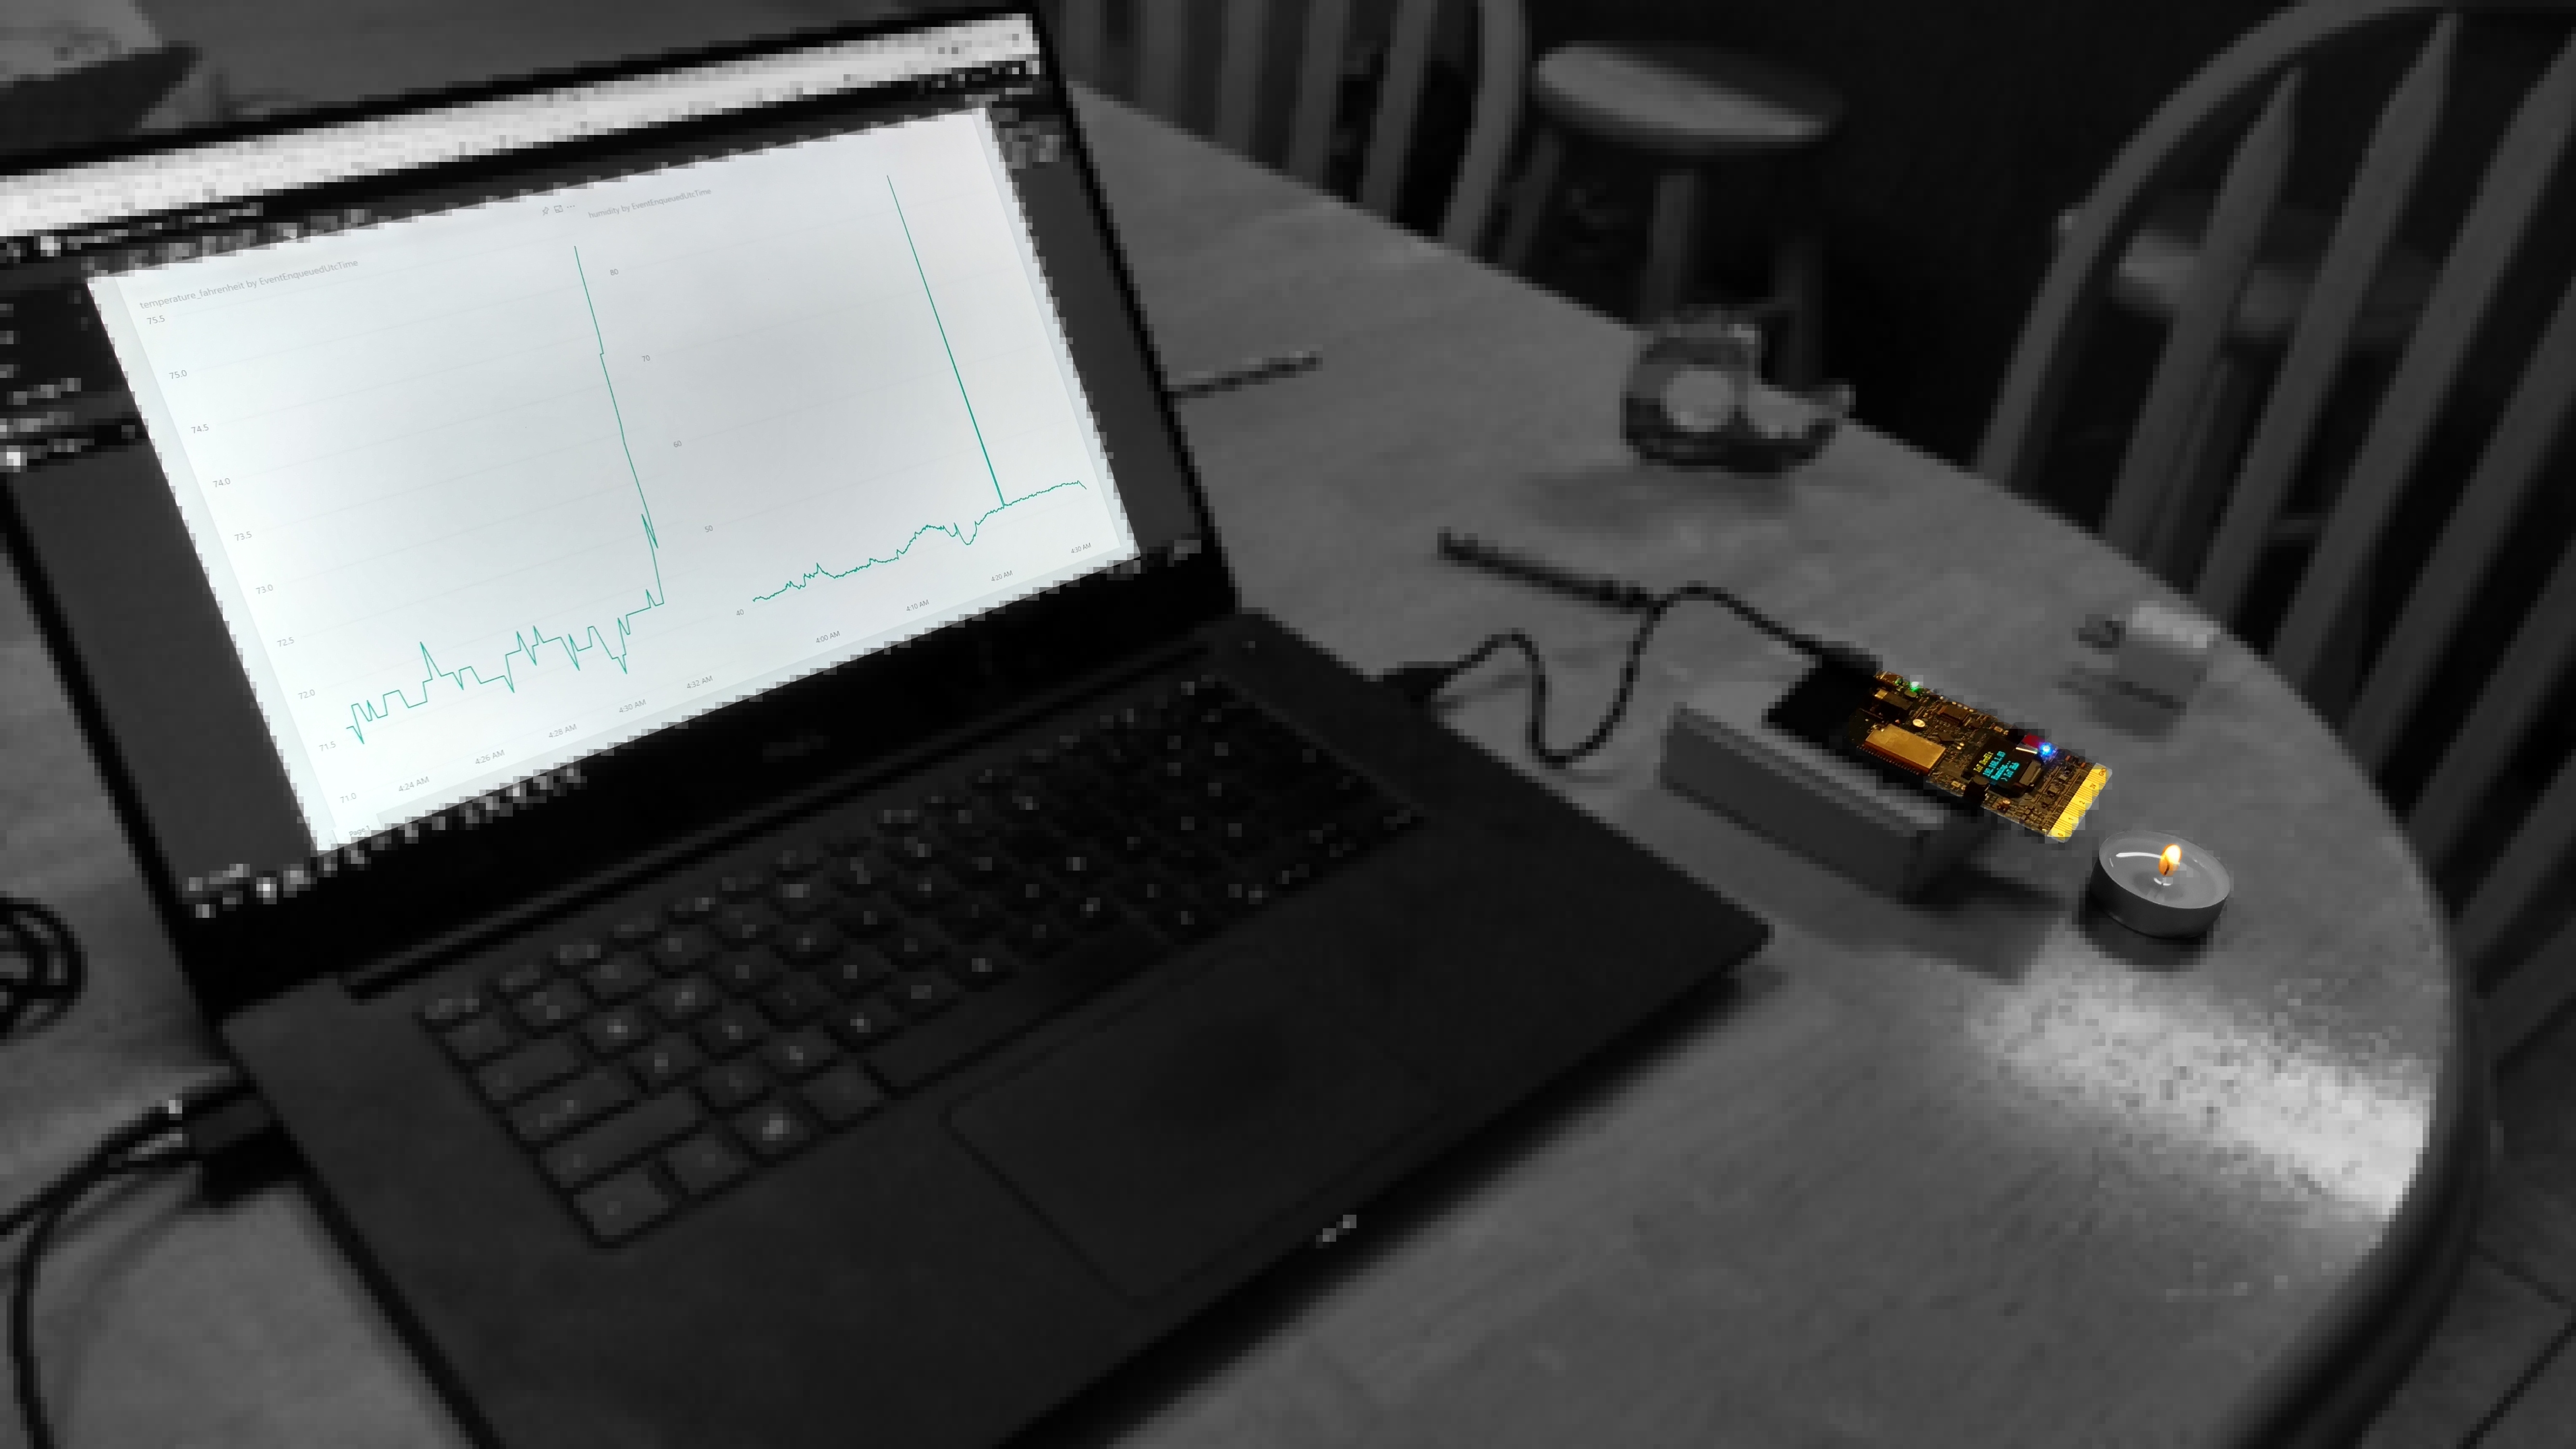
Here you can see what happens when a small candle is places close to the sensor.
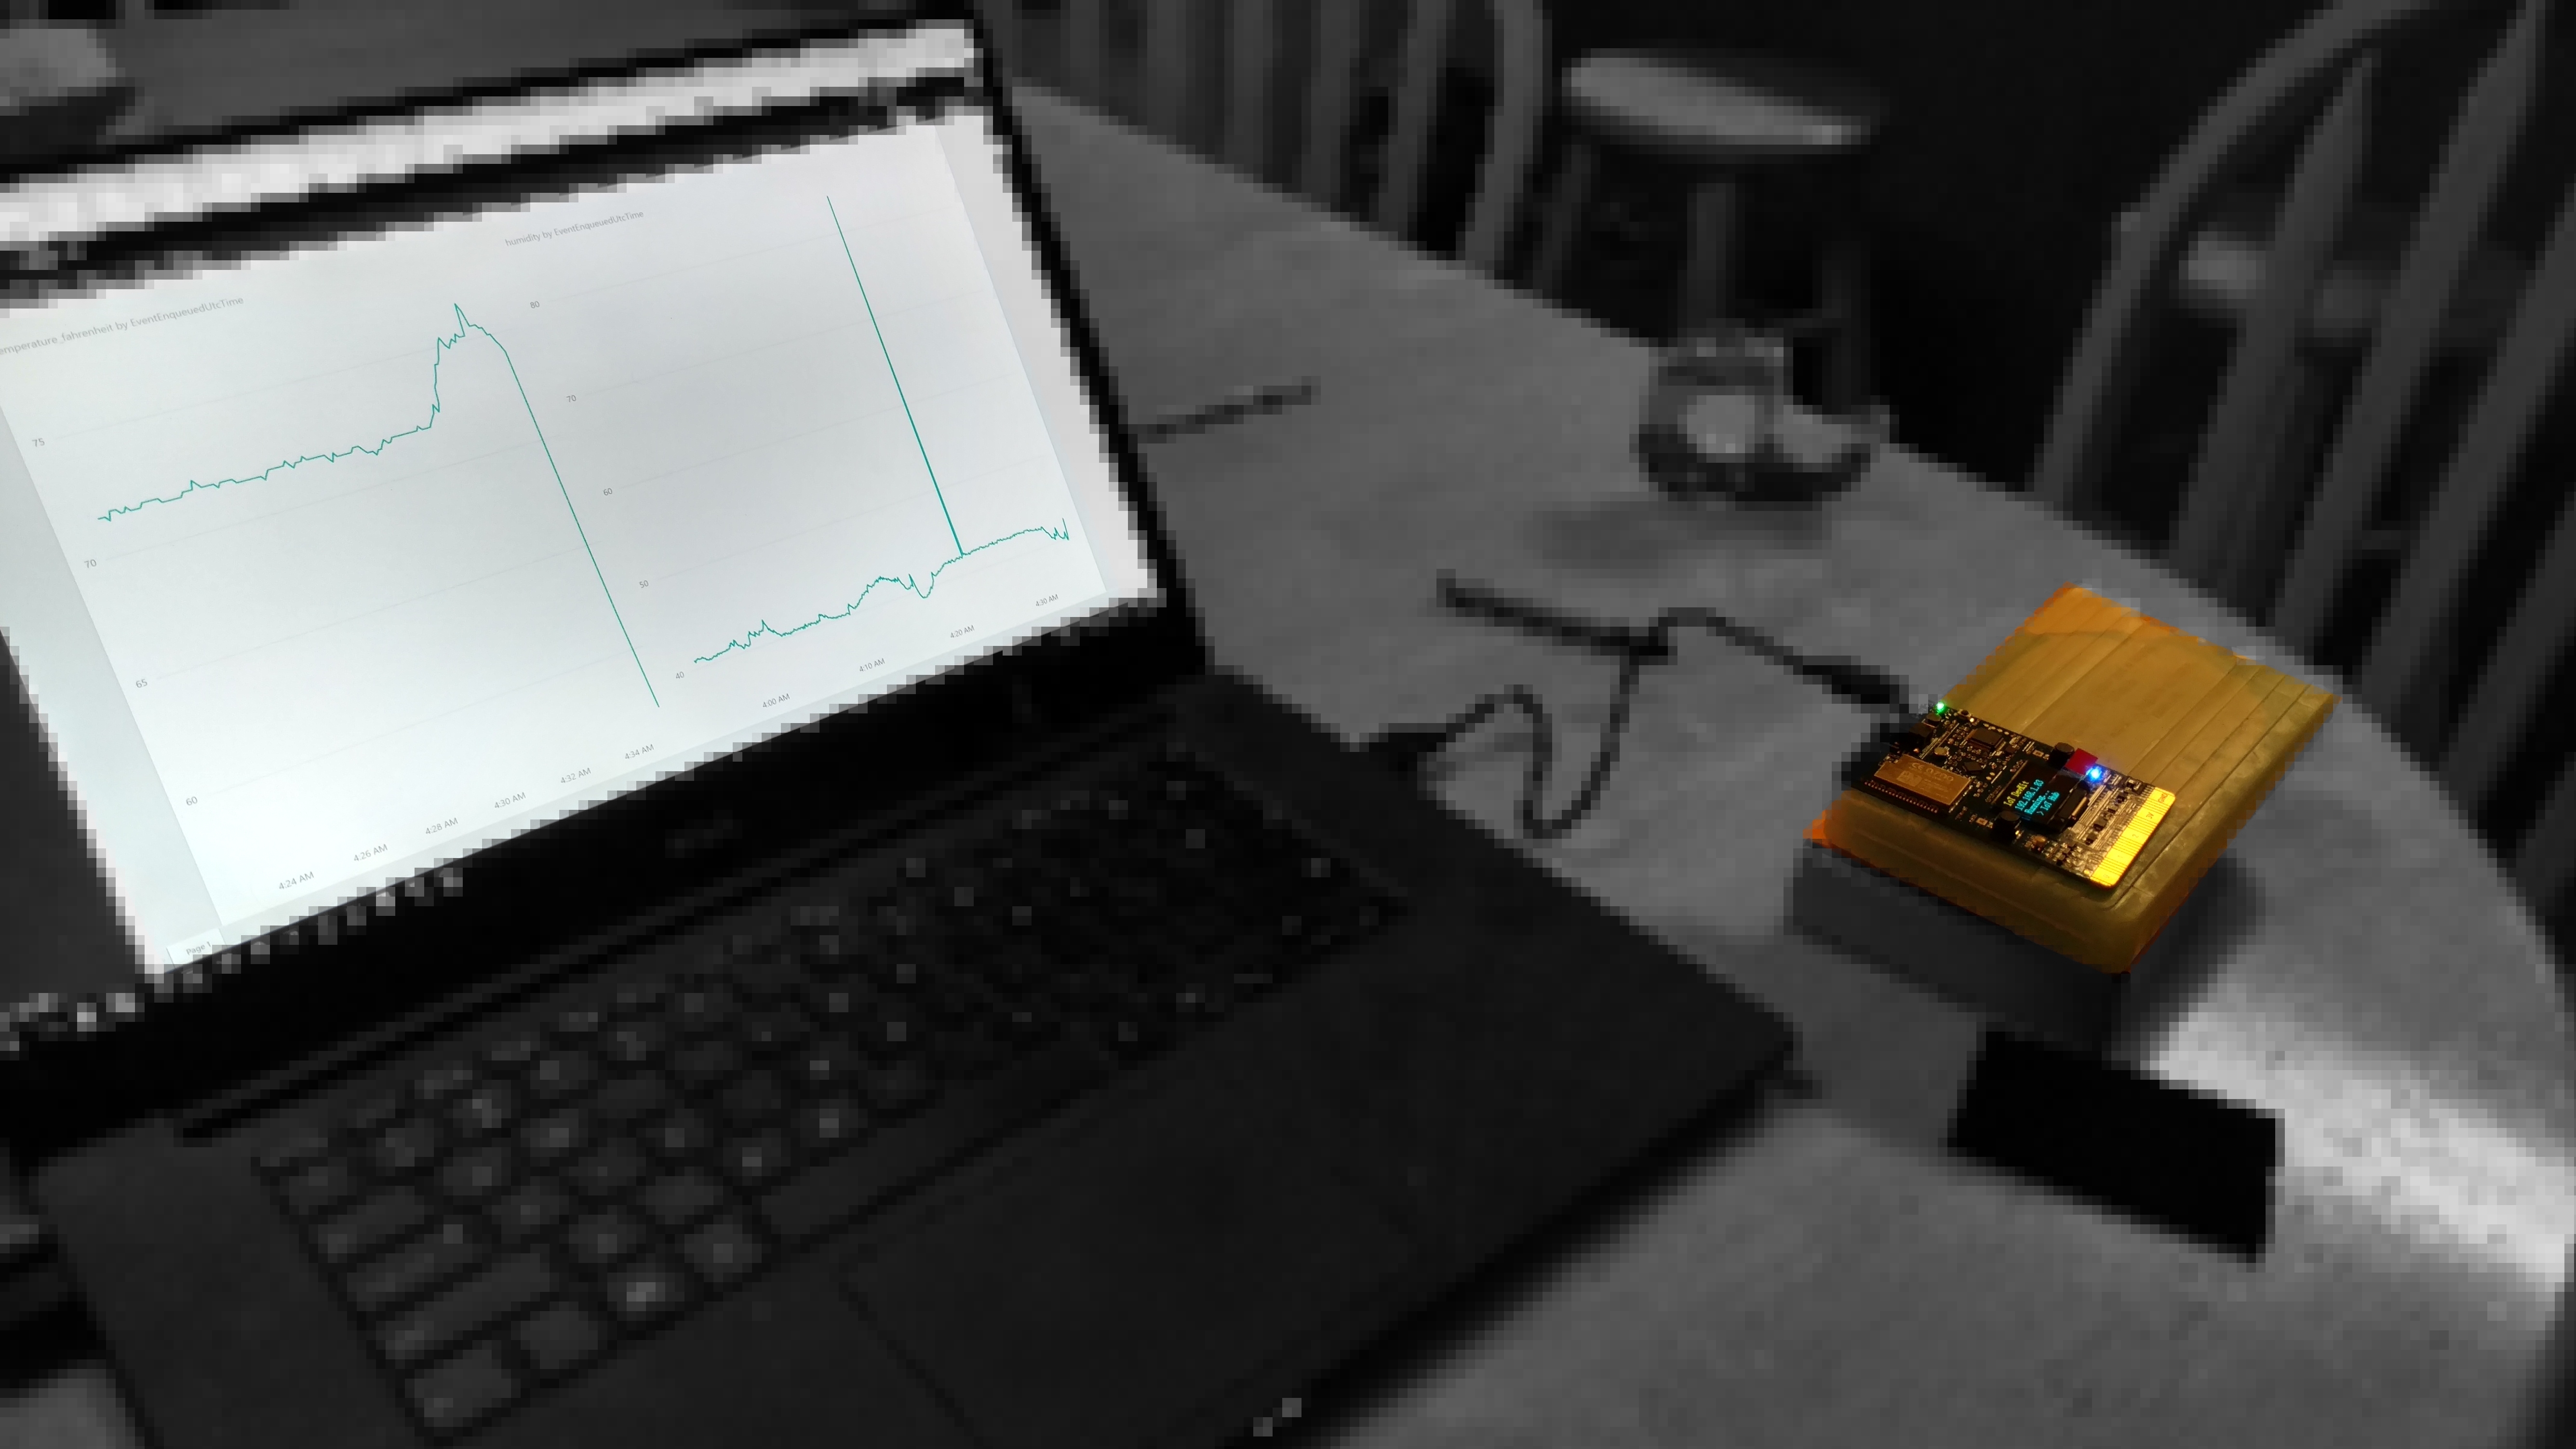
And when I place the sensor on a ice pack it goes back down over time. This seems to be working.
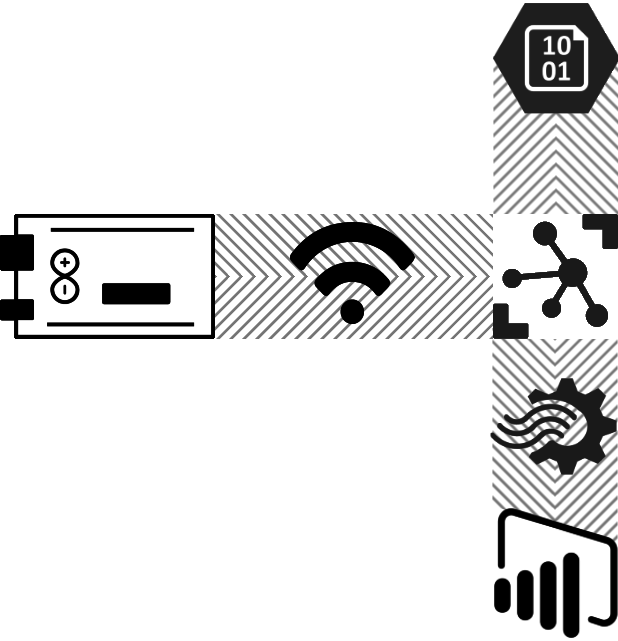
Here are the components that we now have in place
So where is the cyber chicken coup?
Well this sensor is currently living with our girls in their chicken coup on our property. It is a ways from the house. This is IoT DevKis is in use-mode at the moment so I can get some historical data on the temperatures out there over the winter. We don't run any heat lamps out there unless it gets really really cold. This infrastructure will tell us that. It will also be able to tell us if it gets to hot when we turn the heat lamps on from two aspects, one is the coup comfortable so that the chicken lay more eggs and two, is the coup is on fire.

Sensor sealed up to keep the dust from wrecking it
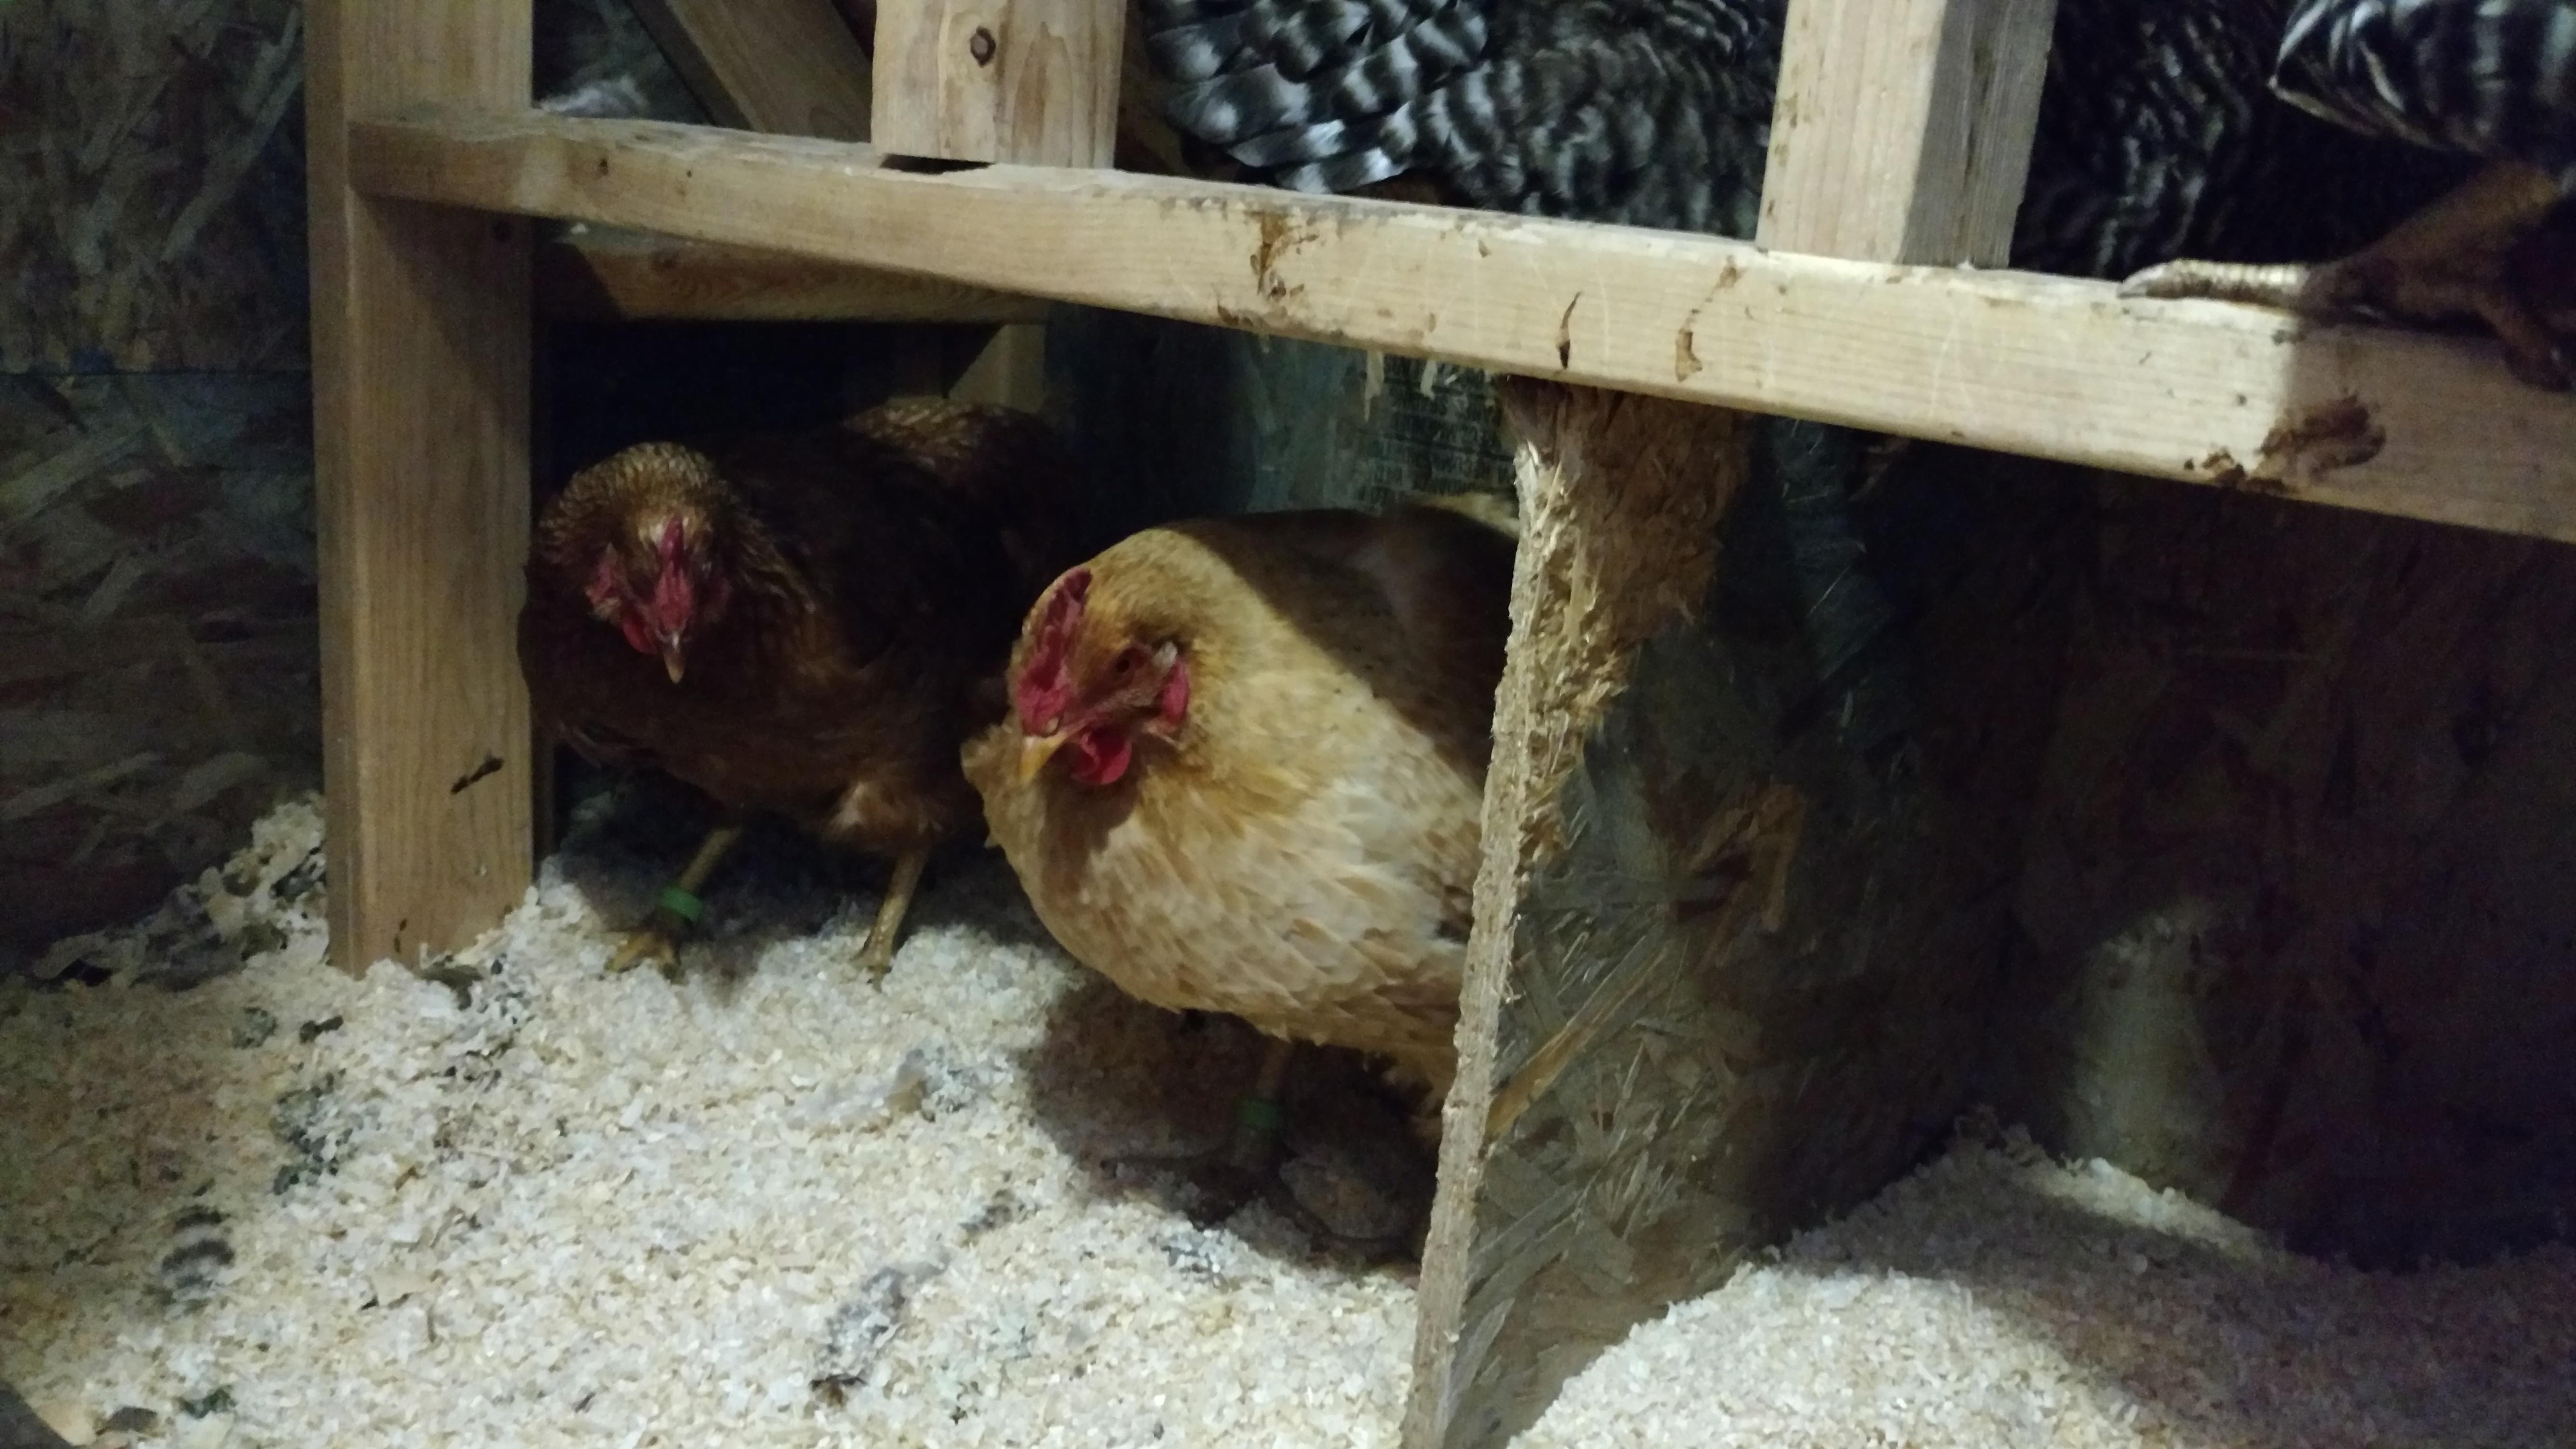
Our girls wondering what the tall being that brings the food is doing now
I have the coup door on a timing rig that I built with a digital timer and a DPDT relay that controls a 18 inch actuator.
The door closes and opens on a static time table. I have to update the schedule as the Sunrise-Sunset Tables change. It would be nice to have the Arduino control this based off of data.
Another aspect of automation would be to drive some logic off of the outside temperature. If it is really cold or even really windy keep the door closed for a bit longer the morning.
Trusting the combination of the chicken's instincts and the timed chicken coup door led to a fatality. One evening and for some reason a bird didn't make it back to the coup and she got locked out. Where we live that is just an easy meal for predators and in this case I was able to determine that a fox is a bit quicker than I am at 3AM in the morning. If I had the ability to take roll call in the evening I could have done a couple of things. Kept the door open for a extended amount of time and if that grace period went way too long I could sent myself a notification ... ... to send the kids to go look for the stray bird.
I think we could use the Azure Computer Vision APIs to do a head count from a camera in the coup. This would also give us the ability to peek in there for ad-hoc views but also it the camera were strategically placed maybe it could check for eggs in the nesting boxes.
Another option could be to use RFID. The livestock industry does make tags that are made just for chickens so I could determine by signal strength and Tag id if all the birds are in the coup and use that as an additional data point on to power the door relay.
None of these things are necessary but they are fun to play with. It's also good exercise to actually use some of these services for something that is a little helpful and more interesting than yet another hello world.